Last Spring we were lucky enough to have an amazing sculpture artist, Naomi Moes Jenkins come and work with all of our students at Danz Elementary School. She was here for two months working with students in art class to create a giant tree of life sculpture that is a permanent piece of art that is outside in our garden area at school. Naomi is a local artist here in Green Bay that has studio space at the Art Garage. It was a fabulous experience for all the kiddos and myself see to and work with a real life artist! Each student made a piece that was attached to the tree. It is definitely a beautiful piece that will brighten up our school for many many years! Here are some photos of the entire process from the paper mache, to the clay/epoxy mixture (what makes it weather proof), then the paint! Naomi and I spend quiet a few days over the summer attaching all the pieces to the tree with wire and then finally we put a coat of resin over it that really makes the colors pop! Each grade level focused on different parts of the tree. First grade did all the fruits, Second grade did the leaves, third grade did the flowers and hearts, 4th grade did the birds, and 5th graders did all the animals and people. It truly was an amazing experience for the students and myself! The best part is the garden area is right outside my art room so I get to look at it everyday!

First step was to Paper Mache with heavy duty wallpaper paste. Naomi put in a lot of hours pre-cutting the armatures from Styrofoam for a base for the students to start with except for the fruits. They were taught how to build up their piece so that they were not flat and more realistic. Some of the animals and pieces that need a lot of build up used Naomi's special mixture, it dried quickly so the students had to work fast with it!
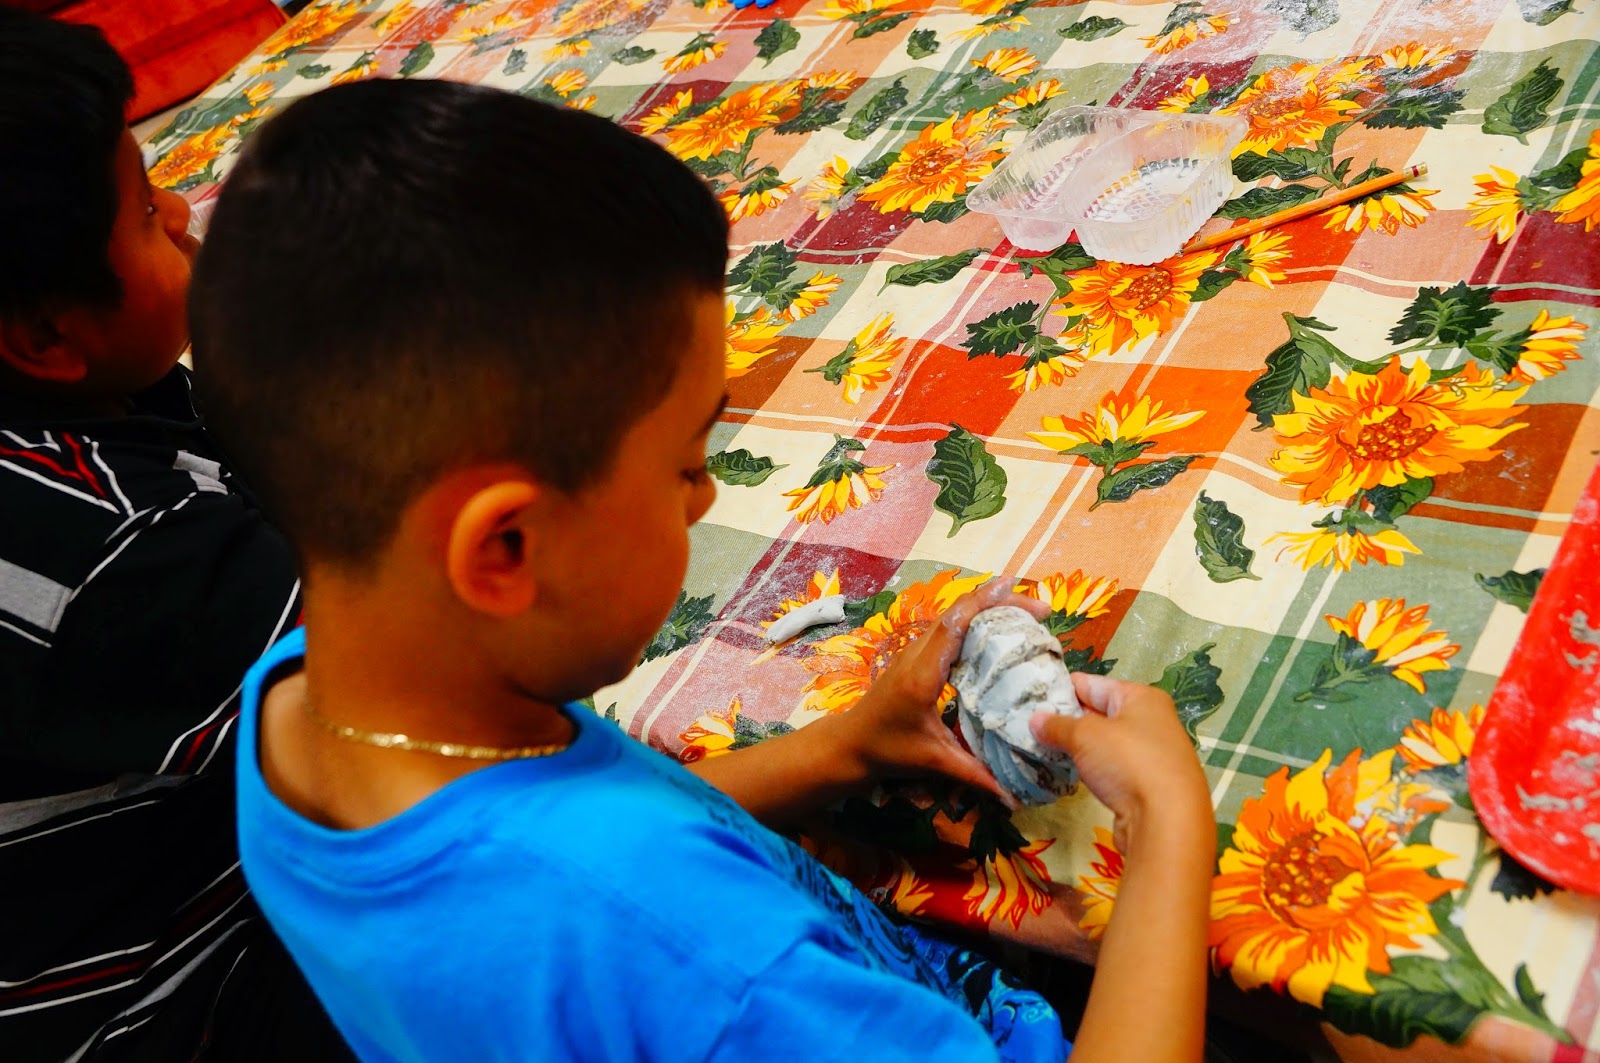
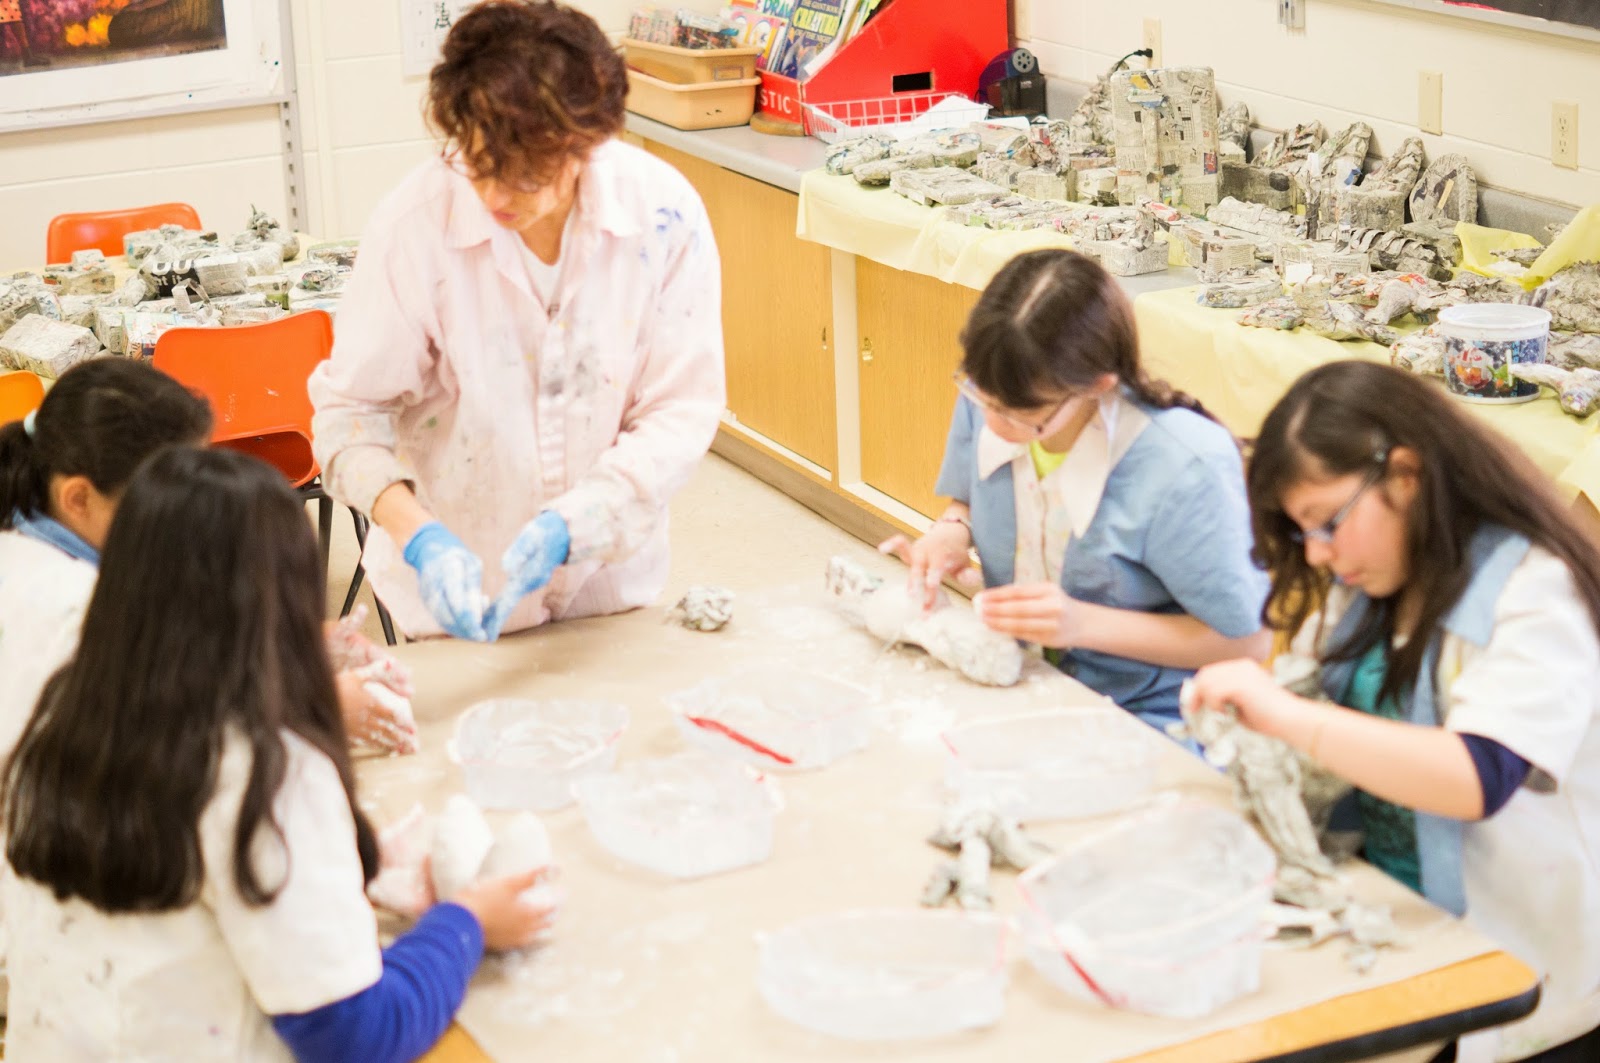
The 2 part clay/epoxy mixture is what was expensive and time consuming, but necessary in order for the piece to be put outdoors. In order for the mixture to harden equal parts had to be mixed together! So each student had to properly mix their white and gray clay together. This is what the whole entire tree is covered in so it definitely took a lot of this! Each piece had to be check to make sure their were not any spaces that were left not covered.
Painting the pieces was next in the process. Students had a lot of fun with this. Naomi had brought in many of her personal paints for the students to use. She did a fabulous job of show the students how to mix colors and create shadows without using the color black.
Some pieces were painting right on the newspaper which also gave a really beautiful effect with the newspaper showing through. These pieces were used as part of an indoor piece that was mounted to the wall.
So this is what the tree armature started as! The students had fun seeing a piece of metal transformed into a realistic tree trunk.
Each tree branch was removable so that we were able to fit it out of my classroom! Each piece had a hole drilled in it and that is were the wire was attached. Each spot where the wire was also had to be epoxied. Naomi and I ended up with a lot of scratches after this step because we had to wrap each piece of wire onto the tree!
The tree of life on the back ledge was the inspiration for our project. Danz Elementary had a very diverse population and about 60% of our student population is Hispanic. The tree of life was Naomi's that her family had actually gotten from Mexico.
The resin had to be done once the students were on Summer Vacation because it is a very toxic smelling material that we had to wear masks and clothing covering all of our skin. It took us about 6 hours one evening to get the entire tree resined.
In order for the tree to be supported we dug a 3 foot hole and filled it with cement and then also had a base slab poured at the same time. We had a template made with where the bolts were set into the wet cement. When the cement was dry we were able to put the metal base of the tree (that had holes drilled in it) on top of the bolts. The tree was EXTREMELY heavy . . . it took 8 people t carry it from my room to the garden so we needed to make sure it was secure and it definitely is not going anywhere! The finished tree is about 10 feet tall and 12 feet in diameter.